Step 8b – Frame the Interior Walls
In my last post, I discussed how using advanced framing would help me lower my heating bill by creating more space for insulation. However, insulating a house is just one of the ways to reduce the amount of energy needed to heat (or cool) a house. No matter how much insulation I put in the house, if I don’t control the air that is allowed to flow through the walls it will be impossible to control the temperature.
Air is able to transfer heat using convection. This is great when you are using a furnace or a heat pump to blow nice hot air into the house during the winter, but in many houses, that air is allowed to escape back outside through tiny cracks and crevices all throughout the house. According to the US Dept of Energy, up to 30% of heating and cooling cost is due to lack of air sealing. One of the places where air can escape is in the tiny gap between the sill plates of the walls and the concrete foundation. While I did place a sheet of sill gasket in that area, that was only to prevent water from wicking up the concrete and into the walls. The sill gasket is air permeable, meaning air can pass through it. I needed to add an additional layer that was air impermeable to fill the gap, and some all-weather caulk fit the bill nicely.

Countless houses leave this crucial step for later, or skip it altogether. The best time to do it is now, though, because after I frame the interior walls it will be nearly impossible to caulk the spaces where they connect to the exteriors.

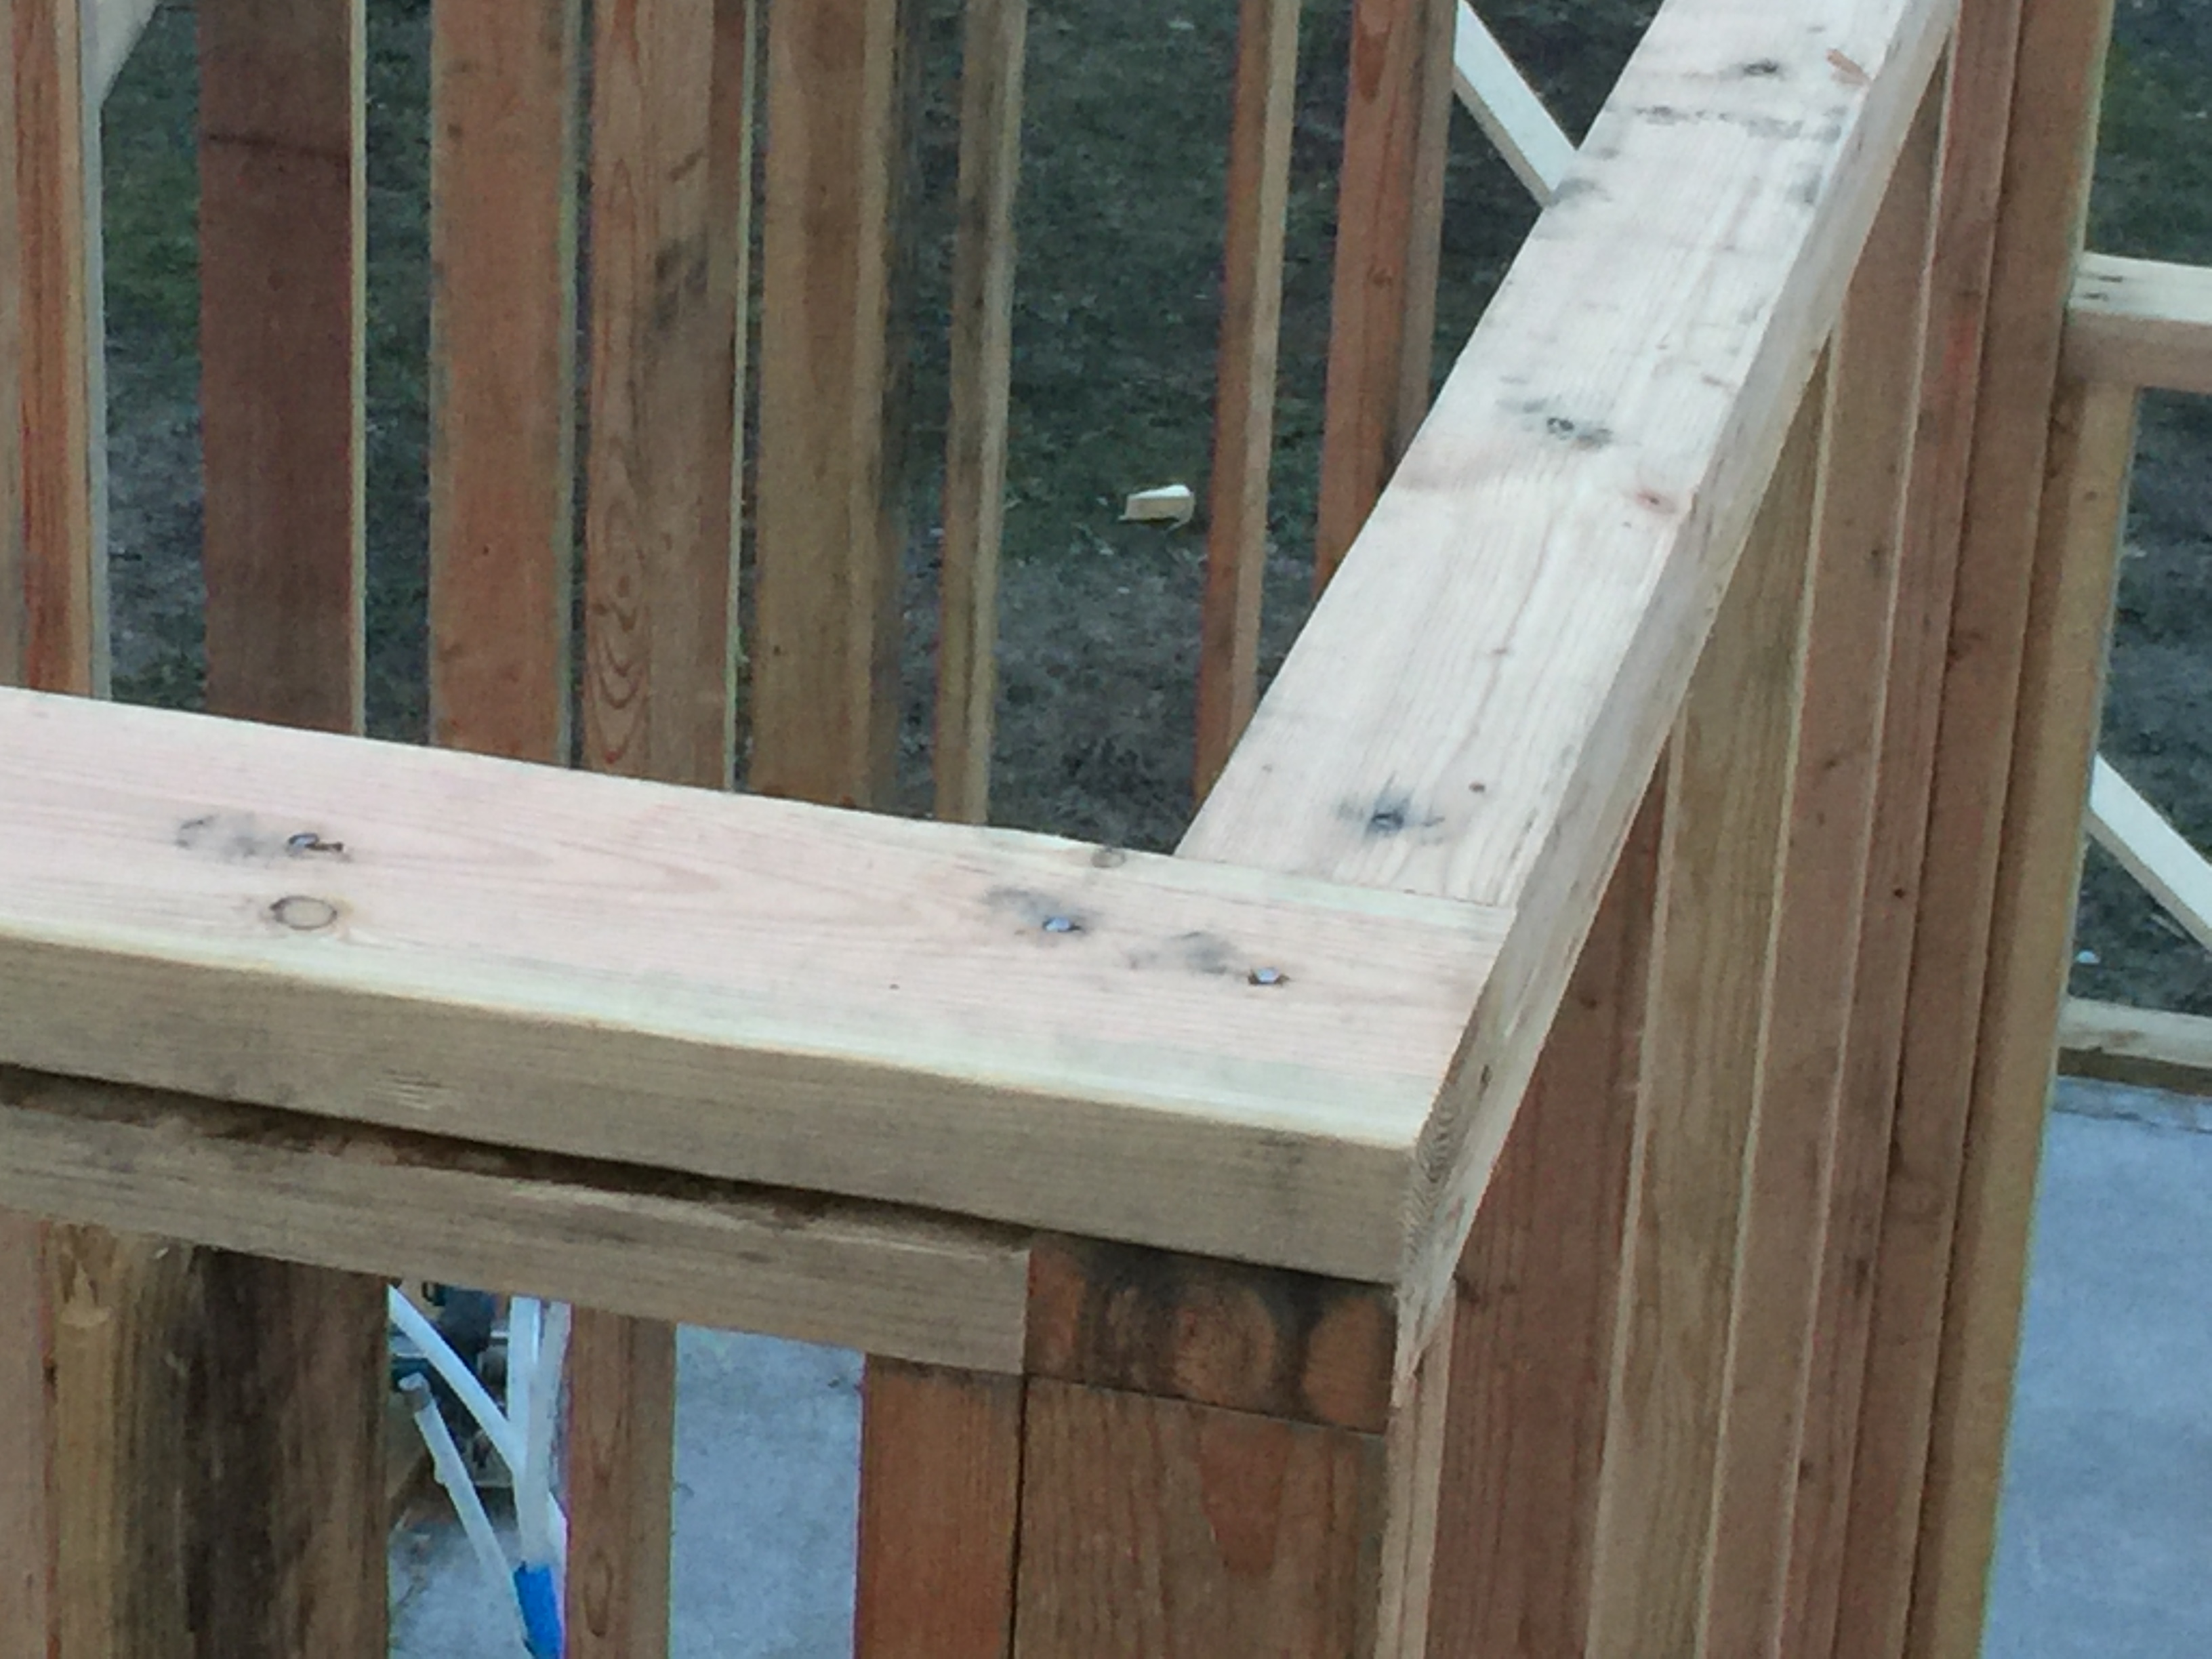
Another technique I will be utilizing to control air movement is using “continuous drywall”. This means that the drywall will slide in behind the wall framing for the interior walls, resulting in fewer joints in the drywall and thus fewer opportunities for air infiltration. Each of these small details contributes just a little more energy savings and helps to get the house to achieving net-zero. Above you can see a pic of an intersecting wall with continuous drywall, which is the method I will be using, and below is a traditional method that the majority of builders use.
The drywall won’t be installed until later in the build, at least until the roof and siding are installed. Drywall doesn’t perform very well when it gets wet. This means I will need to leave a gap in between the exterior walls and any interior walls that run into it. I cut small scrap pieces so they were 3/4″ thick and used them as spacers to ensure the gap was sufficient. Even though the drywall is only 1/2″ thick the extra 1/4″ will allow me to slide it in the gap without damaging it. I used the spacers at both the bottom of the wall and at the top as you can see below.


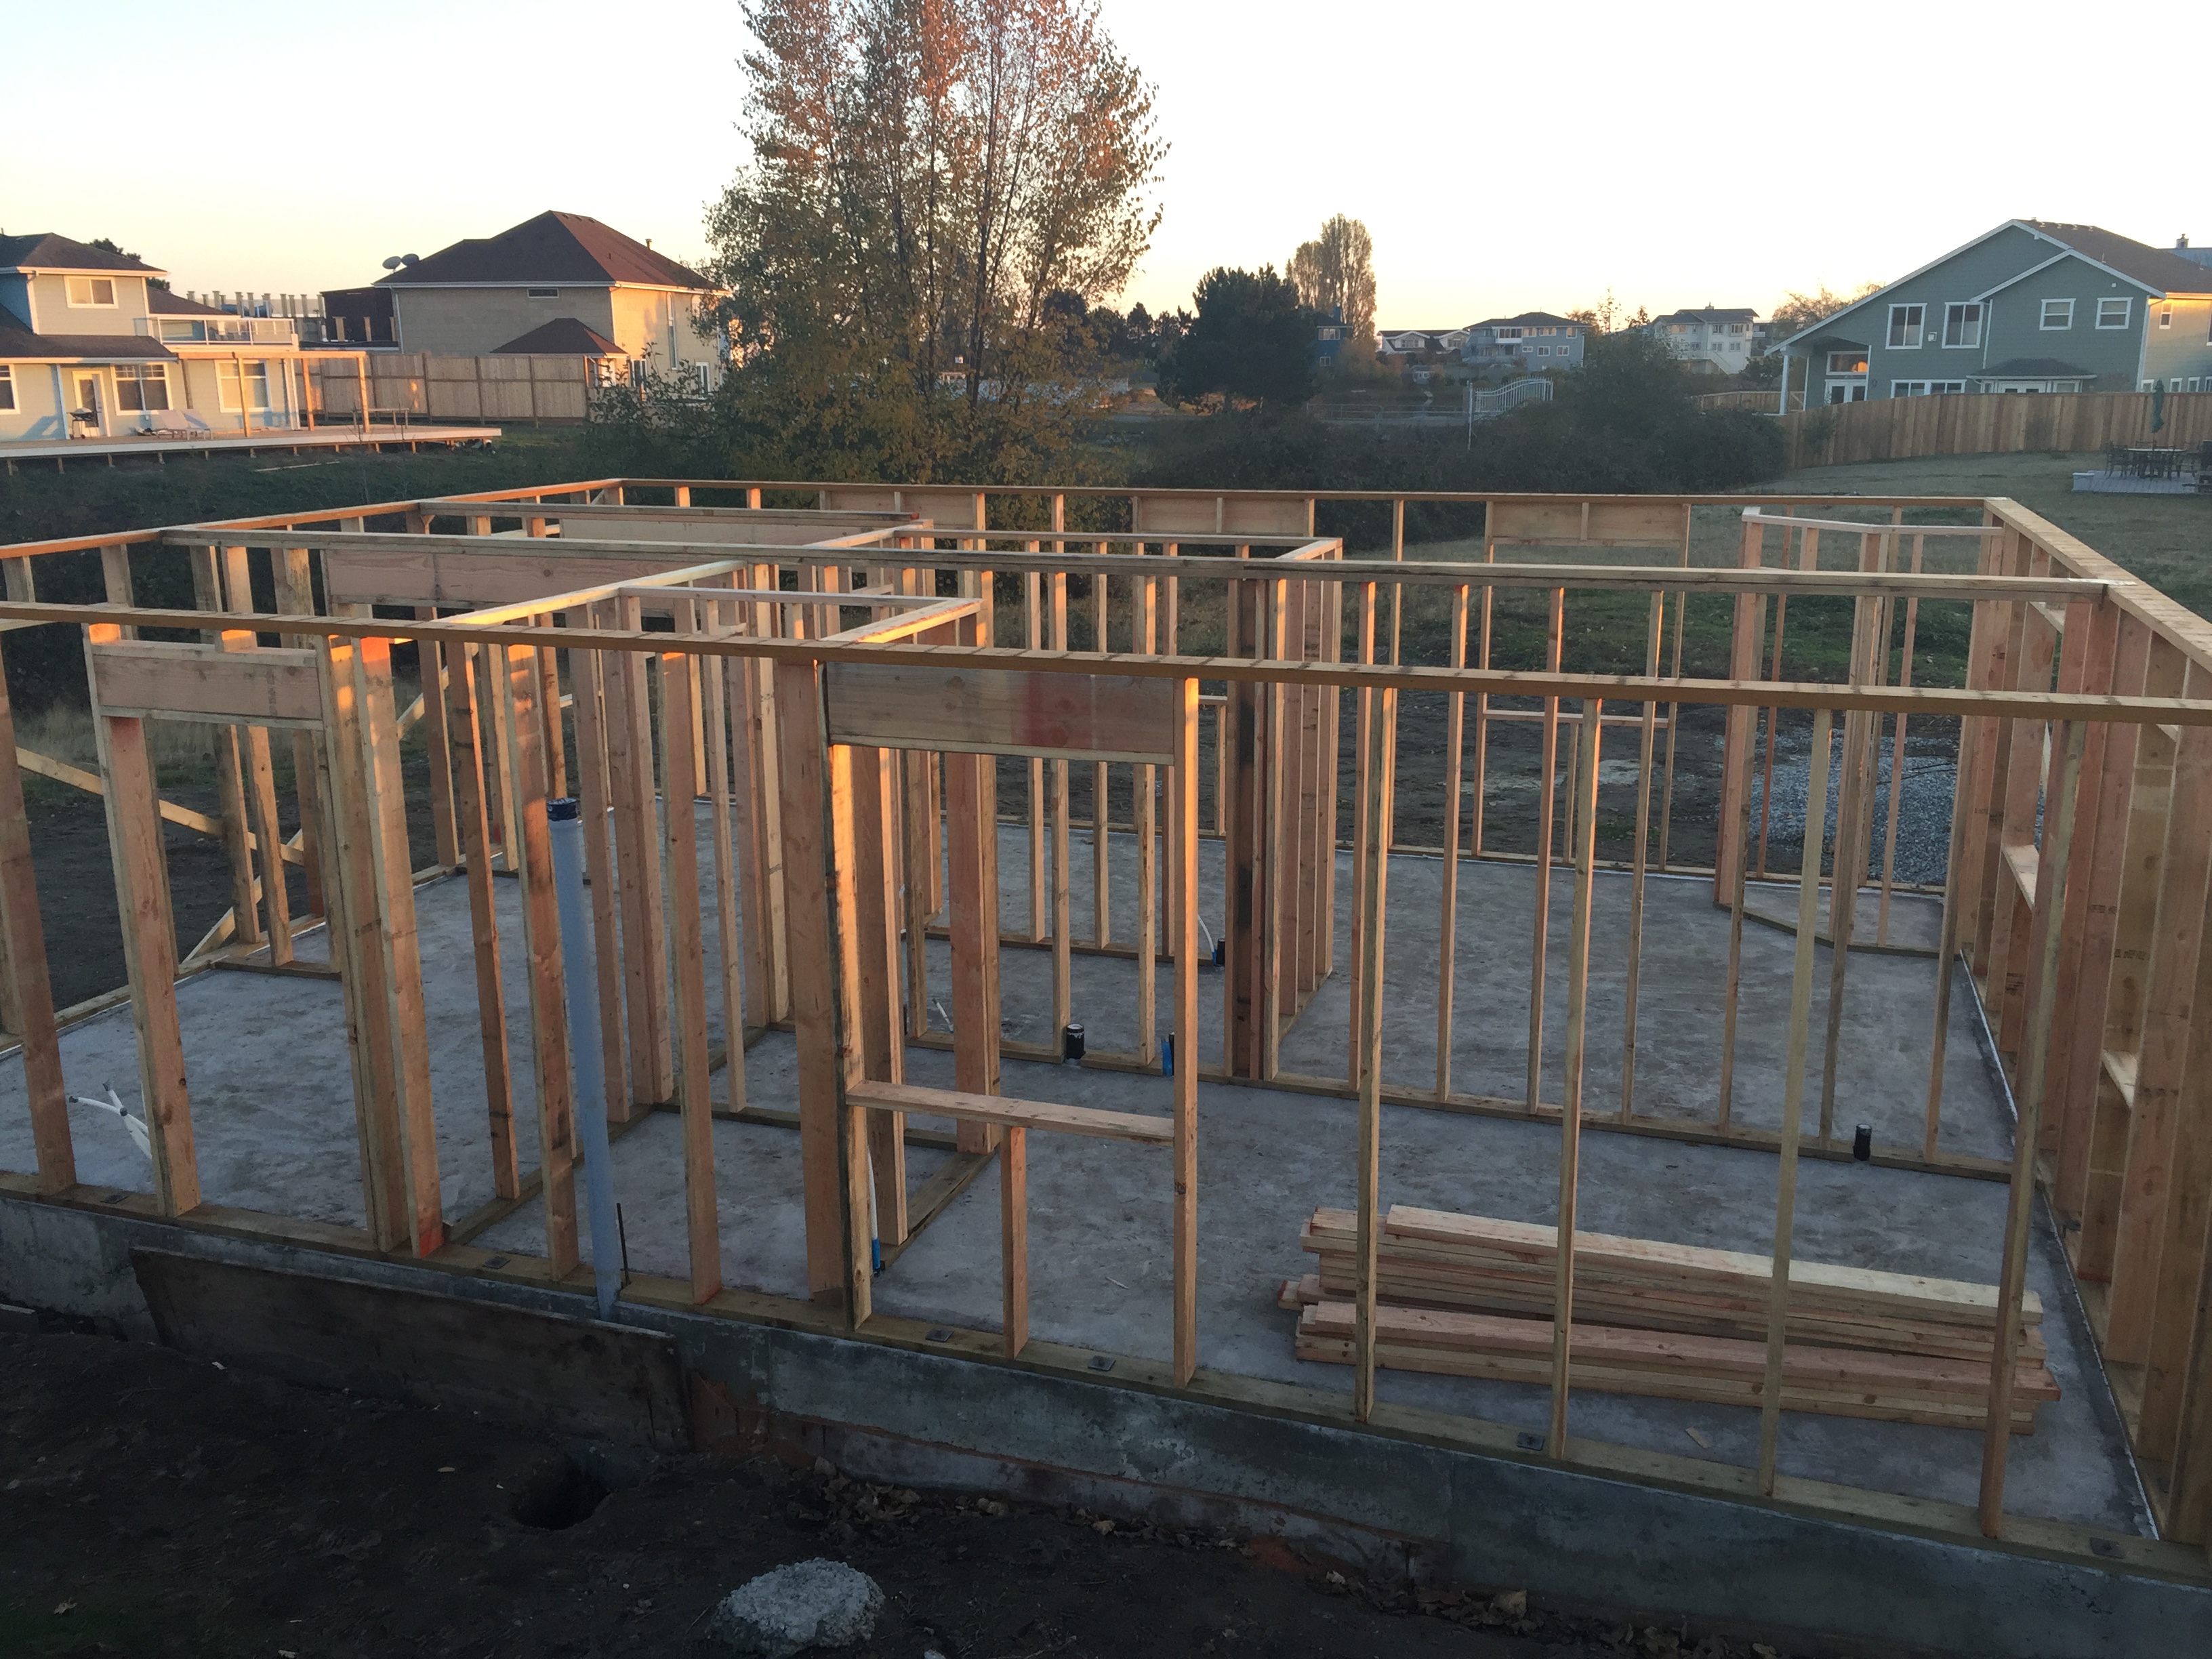
I used standard framing instead of advanced framing for the interior walls since they don’t require any extra room for insulation. This meant spacing the studs at 16″ on center instead of 24″ like I did with the exterior walls, and capping the studs with a double top plate instead of a single. Additionally, I used 2×4’s to frame most of the interior walls instead of the 2×6’s I used on the exterior. I did use 2×6’s on several of the interior walls that contained large plumbing pipes. This will give me a little more room to play with as some of the pipes are over 3″ in diameter and the 2×4’s are only 3.5″ wide. Beyond that, framing the interior walls is just the same as the exterior. Mark the stud locations on the top and bottom plates and then nail them in. A few details were needed for bedroom and bathroom doors as well as intersecting walls but overall it is a pretty simple process. The second top plate is added on after the walls are up and is staggered in a way that ties all the walls together as you can see below.
Why did you choose 2×6 24’’ o.c exterior framing over 2×4 16’’ o.c?
Curtis that’s great to hear! I created the blog to inspire people like you so thank you for making me feel I am accomplishing my goal! There are a multitude of reasons to use advanced framing techniques, of which 2×6’s 24”OC is one of the most well known. First and most importantly, the extra 2” in the bays allow you for 2” of extra insulation. You will reap the benefits on the energy savings over the full lifetime of the house. Less important reasons are saving lumber, less time to frame, easier to move between studs, extra space for plumbing and ductwork, and easier to line up second floor joists with the studs. Some say cons are they are heavier to carry and there isn’t enough nailing for drywall but those are lame excuses. You carry 6 2×4’s or 3 2×6’s but you have to use more of the 2×4’s anyway, and finding 24”OC rated drywall is easy. The only true con is less nailing for electrical boxes and cabinets and that’s why I used 2×4’s on the interior walls. Best of luck with your build and feel free to ask any question you may have in the future.